

Master Bedroom Project Reveal
- laurenamay

- Nov 18, 2021
- 4 min read
Updated: Feb 10, 2022
One of my recent projects came to an end recently, and while I'm sad to see it finish, I'm also so pleased with the result and how much my client loved it. So I thought I'd share some images and details behind it.
New Build Master Bedroom
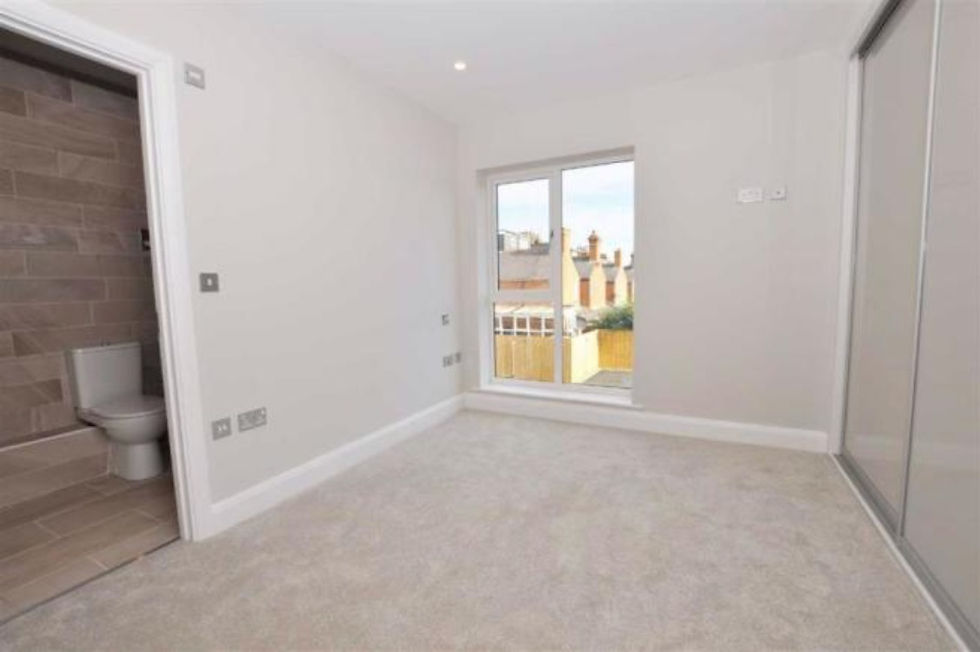
The room I had to design for my client was a white, plain new build box with no personality or interest in it at all. Some might say that's the easiest place to start because you literally have a blank canvas, and some might say it's hard starting from scratch with absolutely nothing. I'm somewhere in between the two. It's nice not to be distracted by any previous ideas or design, but starting from nothing can feel quite daunting.
Here's how we got to the finished room...
Collecting Information.
My first port of call is always my client brief and questionnaire as it's the best place to start. It's a 2 page document which asks a lot of questions to gain an understanding of who uses the room, how is it used, your likes and dislikes in terms of patterns, colours, lighting, furniture etc. It also asks questions like what features/ furniture do you want to stay and which need to be disguised or enhanced. Then there's the logistics like time frames, budget and which of my three services you would like to use. There is of course flexibility between service options and you can mix and match, pick and choose, but one of those set options might fit the bill for what you are looking for. Once I have this information to read through and any accompanying photos to help, I set to discuss this information in detail with my client via either a zoom or telephone call. This means we can start to build rapport together, and ask any questions of each other. If a home visit is an option on your service request, then I'll book this in with you to see the space in person which is really helpful for me to envisage the finished design, and know what I'm suggesting is feasible.
2. Getting Creative
The next step is the fun bit (especially for me) where I use all of the information that I have to start to put something visual together for my client to see and start to get a feel for. I get feedback when I share this with my client and see what they like about it, and if there is anything they would like some other options on. When I get the go ahead for all of the aspects of the look and we have chosen paint and any wallpaper finishes, I put together a shopping list for my client.

3. Time to go shopping...
Next up is my curated shopping list which is where I'm suggesting buying the items to get the look we have agreed on with the inspiration board. It's a handy guide to keep track of what to buy and where from. I usually send this via email so that I can add in easy links to the product. I make sure I send some options based on budget and what I think my client will like.

4. Over to you
The next steps are centred around securing and contractors needed, and any suppliers to make bespoke items such as blinds or curtains. I am able to secure trade discounts with a number of online and high street home retailers as well as decorating suppliers to help save you money on your project. These orders I'm able to do on your behalf, and have them directly delivered to you. If you need any local or national recommendations then I'm happy to help with this, then It's down to you to get the work booked in.
5. Pulling Everything Together
Finally, depending on which service you choose, I send out a 'tailored Implementation Report' which are directions and annotations linked to the digital design board and the curated shopping list of how to execute the finished look.
If you have chosen my most comprehensive service like my client here did, then I will come and style the room to complete the look. Then I get to take my 'after' photos to publish on my website and use for my social media and marketing.
6. The Finished Look...
Take a look at my 'after' photos for my project. What do you think? I'd love to hear your thoughts and feedback. Photographing a finished project is probably my favourite part (closely followed by having that first initial meeting with a client where you start to fill your head with all the ideas and possibilities). While I'm also sad the project has finished, I'm also over the moon that my client has an amazing space to live in, and that they are happier as a result of our collaboration. That means the world to me. Genuinely. So here we have a warm, cosy, reflective of nature and a sophisticated, adult space. It couldn't be more different.


Have a great day, whatever you are up to, I hope it's fun.
If this has inspired you, and you need help with designing and planning a room scheme then I’d love to help. You can email me at hello@laurenmayinteriors.com or call/ text on 07712185467 and let’s get started. You can find out more about my services on my website www.laurenmayinteriors.com and see examples of my portfolio too and hear some client testimonials.
Lauren x


Comments